Step 4: Plaster the Mould
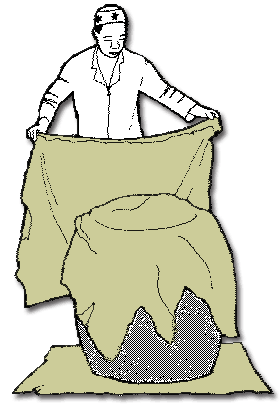
 Sprinkle water on the mould, wetting it before you start to plaster.
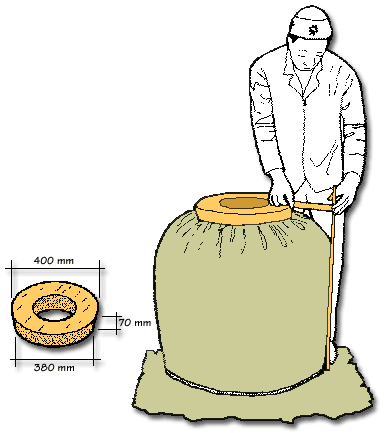
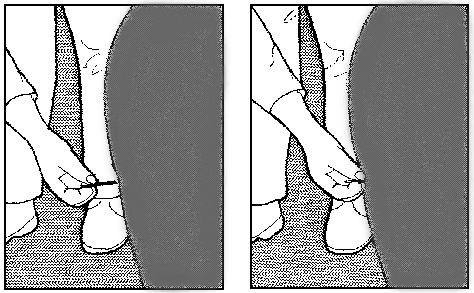
Place the wooden ring on top of the sack where the opening will be located. The wooden ring should be covered with grease to prevent it from sticking to the container.
The ring should be placed with the smaller part on the bottom. Use two measuring sticks to help centre the wooden ring on the sack mould.
 Prepare the plaster with the mimimum amount of water. Use a ratio of 1 : 2 cement to sand.
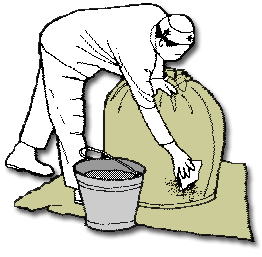
Wet the sides of the base and sprinkle dry cement on it. This will make the plaster stick to the sides of the base and form a strong joint between the base and the sides of the container.
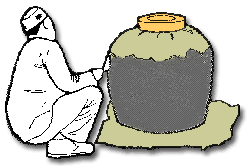
Starting at the bottom, apply the first layer of plaster 5 mm thick on top of the sack mould and base.
Continue with the first layer until you reach the wooden ring on the top.
Repeat with a second layer of plaster 5 mm thick. This will make the sides of the container 10 mm thick.
Check the total thickness of the container wall with a piece of wire or needle. The wall should be 10 mm thick. If there are thin areas add more plaster.
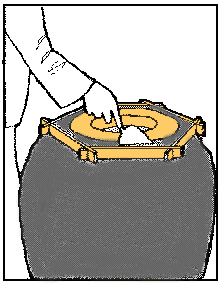
Place the wooden hexagonal ring (also covered with grease) on top of the round wooden ring. Fill the space between them with mortar.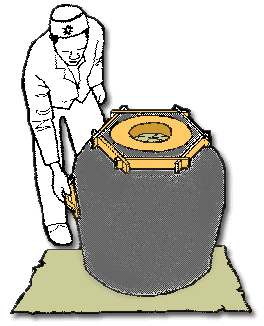
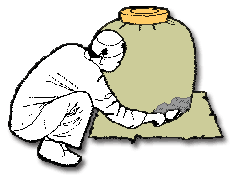
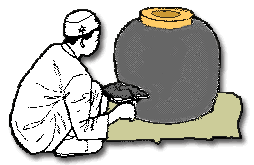
Smooth the exterior of the container with a wooden float.
After a few hours, cover the container with wet sacks. This will prevent the rapid drying of the plaster which would cause cracks. Leave covered for 1 day (24 hours).